
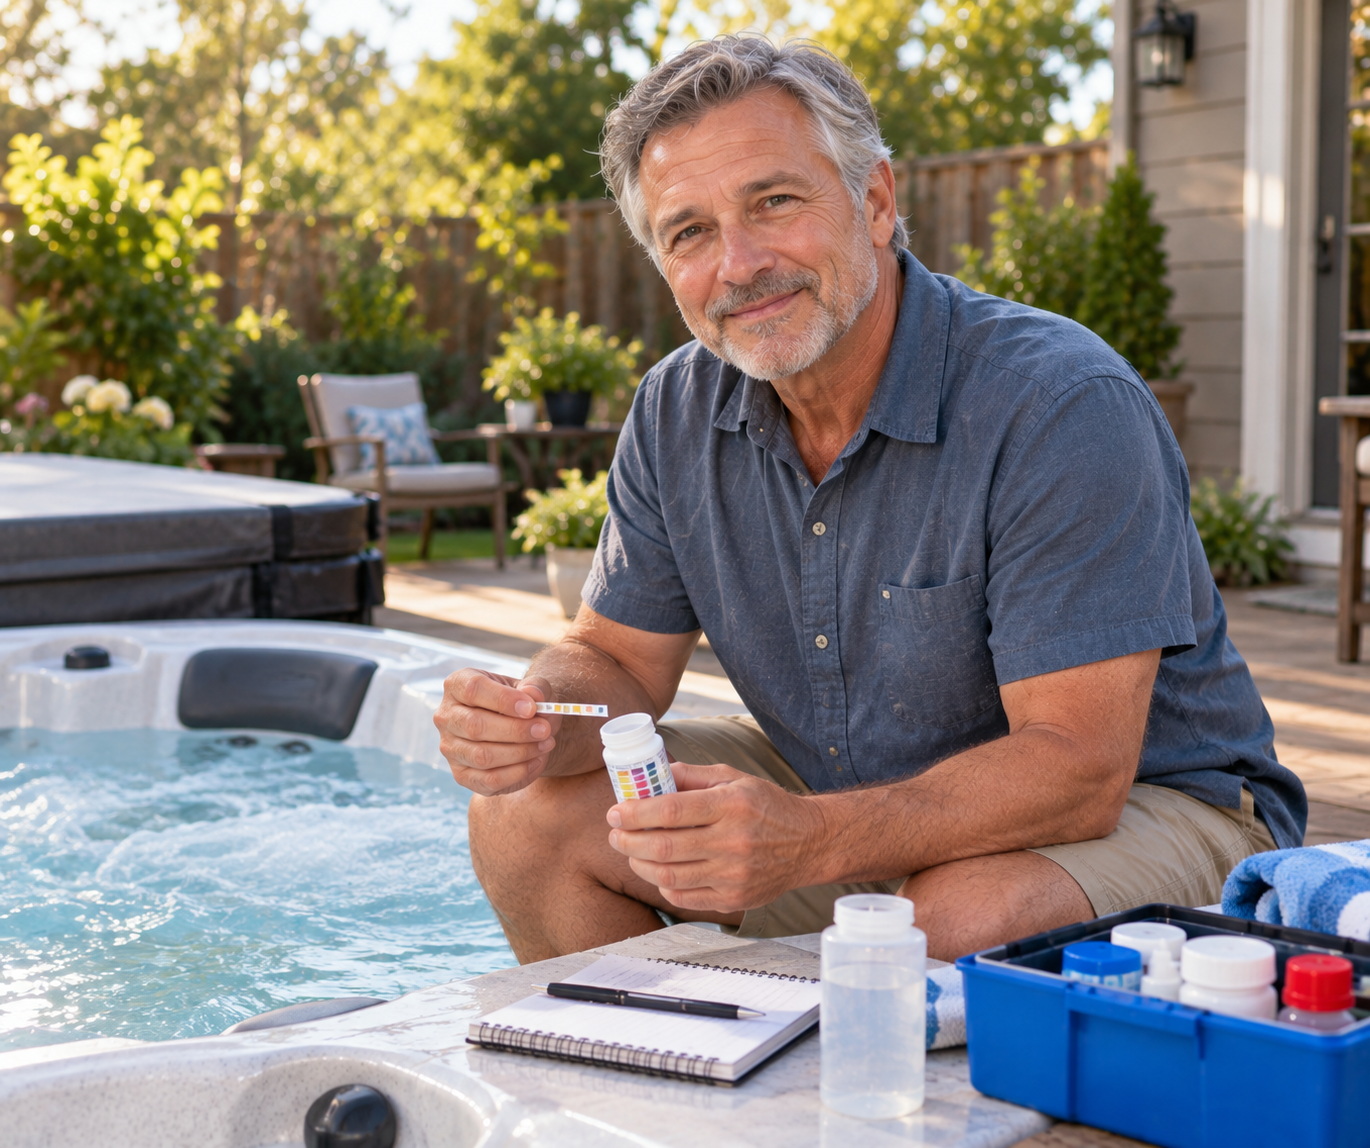

Lifting a heavy spa lid after weeks of damp weather only to encounter dark fungal splotches and foul, musty odors can ruin an evening soak. Damp ambient air, warm steam rising against exterior vinyl, and organic bather residues create a welcoming environment where microscopic fungal colonies quickly establish roots. When tackling this stubborn problem, knowing how to clean mold off hot tub cover materials without stripping essential factory sealants is critical for long-term spa care. Taking time to establish consistent exterior hygiene helps maintain an outdoor patio hot tub cover while shielding sensitive water balance from falling fungal spores.
Aggressive household cleansers like concentrated chlorine bleach often degrade synthetic threads and accelerate vinyl cracking, worsening moisture penetration over time. Removing fungal colonies safely requires gentle surfactants, soft-bristled agitation, and thorough decontamination across both exterior panels and the underside vapor wrap. Applying dedicated vinyl conditioners following cleaning creates a durable barrier that repels standing water, dirt, and airborne fallout. Establishing a reliable seasonal maintenance routine keeps your hot tub clean, energy efficient, and ready for relaxing hydrotherapy throughout the entire year.

A Complete System for Removing Mold and Protecting Spa Cover Vinyl
Eliminating fungal growth on spa lids demands a methodical approach that eradicates active spores while preserving the structural integrity of marine vinyl and internal foam cores. Fungal colonies feed on trapped condensation, bather oils, and outdoor organic debris, spreading rapidly across textured surfaces if left untreated. Understanding the mechanics of vinyl care allows hot tub owners to decontaminate their covers safely without causing premature material failure. Taking decisive action at the first sign of mildew protects your soaking environment and extends the lifespan of your spa equipment.
Identifying Mold Colonization Versus Surface Grime and Mildew
Spa covers frequently accumulate airborne dust, pollen, and tree sap that can easily be mistaken for biological colonization. Surface grime generally wipes away with mild water pressure, whereas mold embeds itself deeply into the microscopic grain of textured vinyl and fabric seams. Mildew typically begins as powdery gray or whitish patches across damp exterior folds before transitioning into dark black or green fungal spots. Recognizing these subtle visual differences helps you choose the correct cleaning intensity before spores spread across the entire spa perimeter.
The underside of the cover faces an entirely different chemical environment than the exterior surface exposed to the weather. Beneath the skirt, high humidity and continuous warm steam mix with vaporized sanitizer off-gassing to stress synthetic materials. When sanitizer levels drop below recommended thresholds, airborne mold spores immediately exploit the damp, dark underside. Once established, these organisms form slimy biofilms along the heat-seal hinge and skirt edges that normal water rinsing cannot dislodge.
The Hidden Hazards of Underside Vapor Barrier Infiltration
Every quality spa cover relies on high-density tapered expanded polystyrene (EPS) foam cores sealed inside a plastic vapor barrier. This plastic barrier acts as an impermeable shield that stops rising spa steam from soaking into the porous foam insulation. When mold establishes itself on the underside of the cover, fungal hyphae can work their way along seams, zippers, and micro-punctures. If mold penetrates this vapor barrier, spores begin colonizing the internal foam inserts where topical surface cleaners cannot reach.
A compromised barrier quickly leads to moisture absorption, causing the lightweight foam core to gain tremendous weight over time. Waterlogged insulation completely loses its thermal resistance value, allowing costly standby heat to escape rapidly into the cold outdoor air. Waterlogged covers also place immense mechanical strain on cabinet brackets and hydraulic cover lifters during routine opening. Inspecting the underside vapor barrier during regular cleaning ensures minor moisture problems get resolved before the core suffers permanent structural waterlogging.
Essential Cleaning Chemistry: Why Household Bleach Destroys Vinyl Seams
Reaching for concentrated household chlorine bleach is a common reaction when discovering stubborn black mold patches. Although bleach kills surface organisms temporarily, its high alkalinity and harsh oxidizers strip the natural plasticizers embedded in marine-grade vinyl. Stripped vinyl becomes brittle, dry, and prone to spiderweb cracking under intense afternoon sun exposure. Furthermore, bleach degrades polyester and nylon stitching along perimeter handles and skirts, leading to premature seam tears.
Bleach residues that drip into the hot tub water can also destabilize sensitive water chemistry. High concentrations of sodium hypochlorite dramatically spike spa water pH and total alkalinity, irritating bathers and causing cloudy water. Safer alternatives rely on mild surfactants, enzyme-based cleaners, or diluted white vinegar solutions that lift fungal roots without drying the synthetic fabric. Choosing non-caustic formulations protects structural stitching while ensuring surrounding water balance parameters remain steady between chemical adjustments.
Safe Cleansers and Specialized Sprays for Surface Decontamination
Selecting dedicated vinyl care products simplifies the fungal removal process while protecting the delicate topcoat of your spa lid. Formulations like EROSMILE Hot Tub Cover Cleaner Spray are manufactured specifically to lift organic bather oils, sunscreen residue, and stubborn grime from vinyl surfaces. A gentle, balanced cleaner dissolves sticky films that mold colonies consume, preventing new spores from gaining a secure foothold. Applying a targeted cleaner minimizes the physical scrubbing required, which prevents abrasive wear on the outer vinyl embossing.
When treating deeper fungal staining, mild oxygen bleach or gentle enzymatic solutions offer excellent cleaning power without the hazards of chlorine. Diluted white vinegar mixed in equal parts with warm distilled water provides an effective, mild antifungal wipe for light mildew spots. Always avoid harsh scouring powders, stiff wire brushes, or alcohol-based solvents that can scratch or dissolve vinyl topcoats. Safe chemical cleansers lift stubborn discoloration gently, leaving the underlying waterproof membrane intact and ready for weather exposure.
Step-by-Step Exterior Vinyl Washing and Decontamination Protocol
Begin the decontamination process by carefully unbuckling the safety straps and removing the cover from the hot tub. Place the cover flat on a clean, soft surface such as a lawn or a smooth deck rather than rough concrete. Rinse the top surface thoroughly with a garden hose on a gentle shower setting to wash away loose sand, leaves, and grit. Removing surface abrasives beforehand ensures you will not grind sharp dirt particles into the vinyl grain while scrubbing.
Spray your chosen cleaning solution evenly across one half of the top cover, allowing it to penetrate dirt for two to three minutes. Work a soft microfiber cloth, foam sponge, or soft-bristled horsehair brush across the vinyl in gentle circular motions. Pay close attention to sewn seams, safety strap anchor points, and hinge folds where moisture and fungal spores hide. Rinse the section thoroughly with fresh running water until all soap lather disappears, then repeat the process on the remaining half.
Restoring and Disinfecting the Underside Plastic Vapor Wrap
Cleaning the underside requires equal diligence because this surface hangs directly above your hot tub water. Flip the cover over onto a clean tarp to prevent the freshly washed exterior from picking up garden soil or lawn clippings. Inspect the continuous heat-seal hinge gasket and the bottom drainage weep holes for accumulated scum, mineral scale, or dark mildew spotting. Spray the underside plastic sheeting and vinyl skirts with a mild antifungal cleaner, letting it dwell briefly to loosen biological buildup.
Gently wipe the underside with a clean microfiber towel, avoiding heavy downward pressure that could stress the plastic vapor barrier seams. Rinse the underside thoroughly with fresh water, making sure to flush out the small drainage grommets located along the lower perimeter edge. These grommets allow condensation that forms inside the outer vinyl skin to escape freely rather than pooling internally. Thoroughly rinsing away all soap residues prevents foamy water contamination once you place the lid back onto the spa.
Drying and Core Inspection: Dealing with Heavy, Waterlogged Foam
Allowing the cover to dry completely is the single most critical step in eliminating active mold and preventing spore germination. Stand the cover on its long edge in a well-ventilated, shaded outdoor area with both halves propped slightly open like a tent. Avoid leaning the wet cover in scorching direct sunlight, which can cause excessive heat buildup and warp the internal EPS foam core. Inspect the overall weight of each half while lifting, as a cover that feels excessively heavy has likely absorbed water through a torn vapor barrier.
If the internal core is waterlogged, unzip the vinyl casing and carefully slide the foam inserts out onto a flat surface. Inspect the heat-sealed plastic wrap for small punctures, tears, or trapped condensation inside the clear sheath. When persistent moisture or extensive black mold colonies have penetrated deep into the foam core itself, drying rarely restores original thermal efficiency. Spa owners facing severe core waterlogging often find that upgrading to a durable hot tub cover with warranty coverage provides a far more reliable solution than trying to salvage saturated insulation.
Conditioning Marine Vinyl and Shielding Against UV Spore Growth
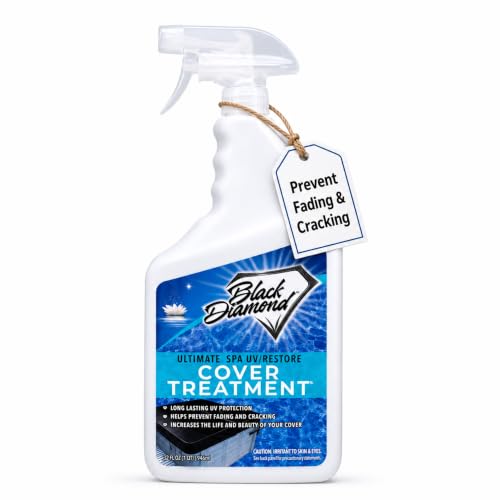
Once the exterior vinyl is completely clean and dry, restoring lost moisture and protective barriers is essential. Sunlight exposes outdoor spa covers to harsh ultraviolet radiation that degrades vinyl polymers, causing drying, stiffness, and micro-fissures. Applying a quality protectant like Spa Hot Tub Cover Treatment & Protector creates a durable, non-greasy shield that repels harsh UV rays and outdoor weathering. This wipe-on formula restores weathered colors while creating a smooth finish that resists water, airborne dirt, and fungal colonization.
Spread the protectant evenly across the top vinyl skin and perimeter skirts using a clean, dry microfiber application cloth. Allow the treatment to bond with the vinyl surface according to manufacturer instructions, buffing away any excess product to avoid leaving a slick residue. Never apply oil-based or petroleum-based automotive vinyl protectants, as these substances can degrade marine vinyl coatings and leach into the water. Treating your cover every four to six weeks keeps the vinyl supple, water-repellent, and highly resistant to fungal spores throughout hot summer afternoons and freezing winter storms.
Water Balancing Practices to Stop Fungal Recurrence
Preventing mold from returning to the underside of your lid begins with diligent hot tub water chemistry management. Inadequate sanitizer concentrations allow microscopic fungal spores and algae to multiply rapidly in warm water, evaporating directly against the cover. Maintain free chlorine or bromine residuals consistently between three and five parts per million to keep bacterial and fungal populations suppressed. Stabilizing total alkalinity between 80 and 120 parts per million helps buffer pH fluctuations, keeping sanitizers active and reducing corrosive off-gassing.
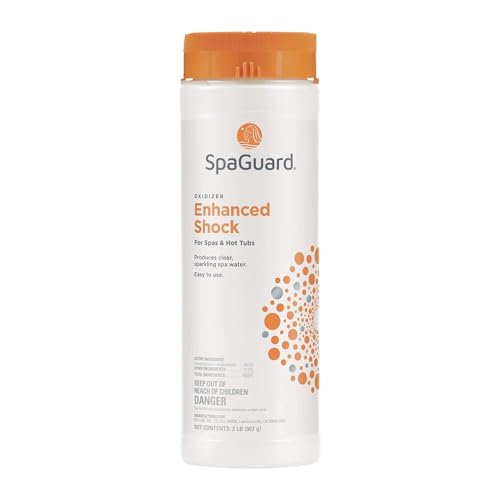
Weekly oxidation with non-chlorine shock or potassium monopersulfate breaks down organic bather waste, chloramines, and body oils that drift toward the lid. Always leave the cover fully open for at least twenty minutes after adding shock chemicals to allow aggressive chemical vapors to dissipate into the open air. Closing the lid immediately after chemical additions traps corrosive gases against the vinyl underside, destroying protective coatings and promoting mildew growth. Spa owners who regularly maintain and handle their lids benefit from using a padded spa cover with reinforced straps that makes routine opening, chemical venting, and perimeter inspection effortless.
Environmental Airflow and Patio Placement Considerations
The physical location of your hot tub patio plays a substantial role in fungal development on exterior covers. Placing a hot tub in perpetually shaded areas beneath low-hanging tree branches traps ambient moisture and limits natural evaporative drying. Tree canopies also drop leaves, pollen, and sap directly onto vinyl seams, supplying an organic food source that accelerates mold growth after rainstorms. Positioning your spa in an open area with adequate air circulation allows morning breeze and indirect light to dry exterior folds naturally.
Maintaining adequate physical clearance around the spa cabinet also simplifies regular maintenance and cover care. When a cover lifter drops the lid too close to exterior walls, garden mulch, or damp deck framing, moisture accumulates in the folds. Allowing at least two to three feet of clearance around the lifter pivot radius prevents the folded vinyl from contacting damp soil and garden debris. Good airflow around both the cabinet panels and the resting cover keeps moisture levels low, dramatically reducing the frequency of fungal decontamination cycles.
Maintaining a mold-free hot tub cover requires a consistent balance of gentle surface hygiene, regular vinyl conditioning, and proper water sanitation. Inspecting the underside vapor wrap every few weeks ensures that small fungal colonies are eradicated before they compromise the underlying foam core. By using dedicated cleaning formulas, avoiding destructive household bleach, and allowing proper off-gassing after chemical treatments, you protect your hot tub investment. A well-cared-for cover keeps your spa water pristine, reduces standby heating costs, and ensures a welcoming hydrotherapy experience for every soak.





Write Your Review
No reviews yet. Be the first to share your experience!