
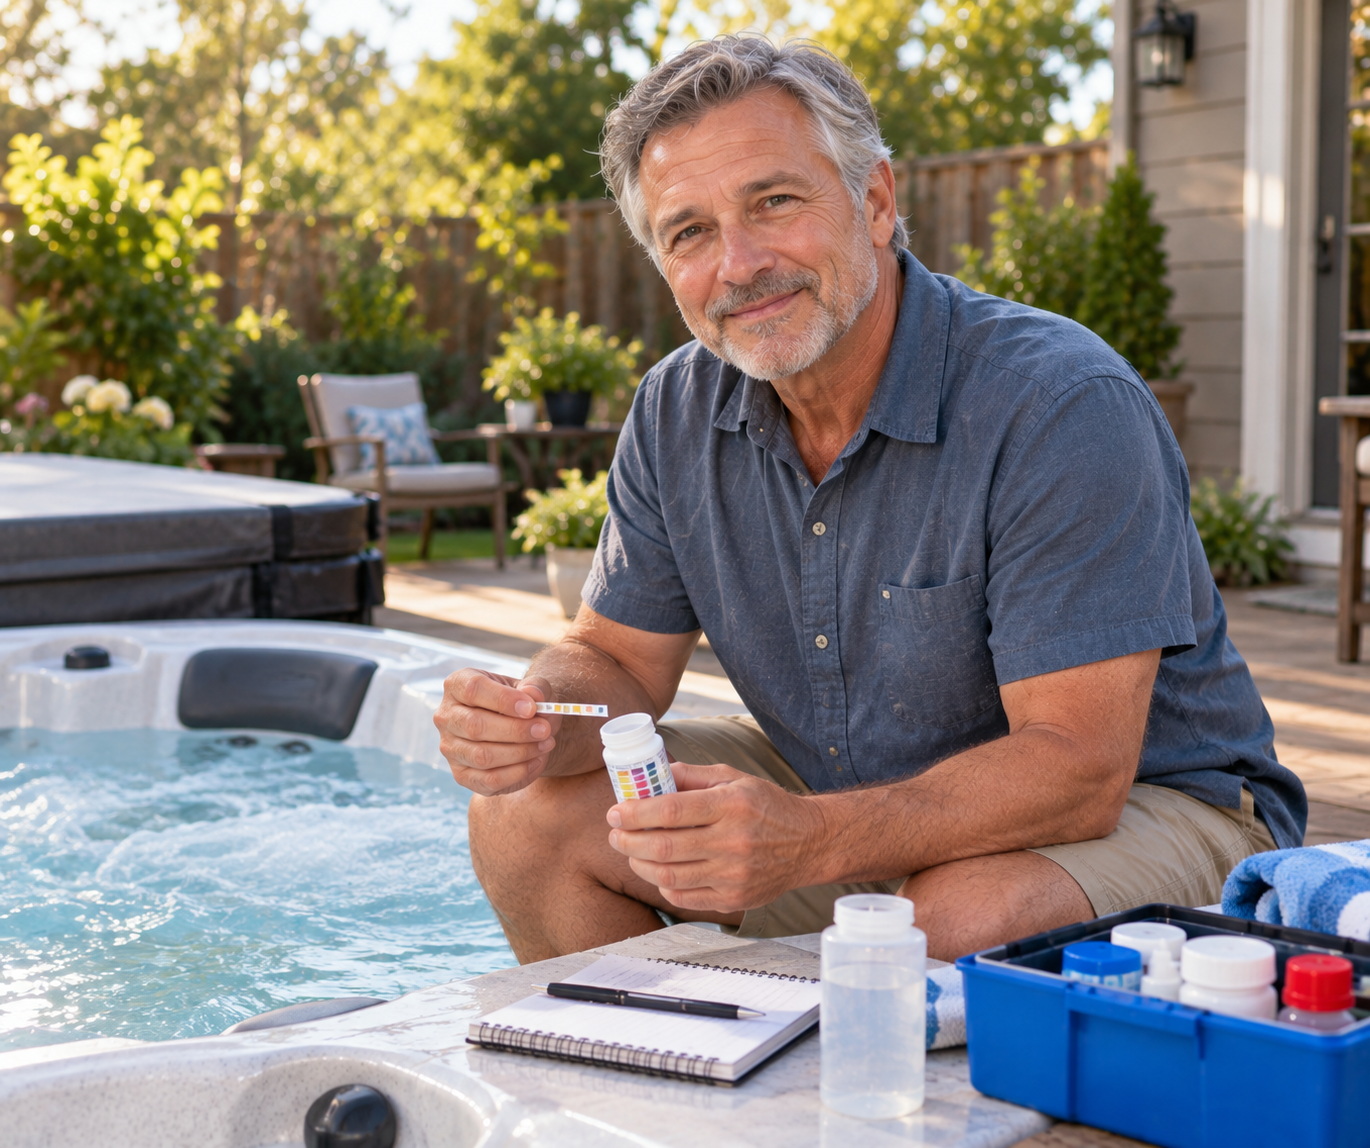

Freezing temperatures present severe risks to outdoor spa plumbing, pump volutes, and internal manifolds. When learning how to winterize a bullfrog hot tub, spa owners must address both standard drain procedures and the brand’s unique modular JetPak manifolds. Protecting the acrylic shell from heavy snow loads and biting winds begins with a dependable spa cover with warranty protection that prevents moisture intrusion and heat escape during the colder months.
Water trapped inside rigid PVC lines or snap-fit connections expands as it freezes, which can crack internal fittings and cause thousands of dollars in structural repairs. Properly closing your Bullfrog spa requires cutting electrical power, systematically siphoning or pumping out hundreds of gallons of water, and thoroughly blowing out every individual water line. Taking the time to execute this seasonal shutdown correctly protects your hydrotherapy equipment and makes reopening your spa in the spring quick and trouble-free.



Complete Guide to Winterizing a Bullfrog Spa
Closing down a high-end hydrotherapy spa for the cold season requires far more precision than merely opening a bottom drain valve. Bullfrog Spas feature intricate plumbing networks and modular JetPak assemblies that hold residual water in isolated pockets. If this trapped water freezes, the expanding ice can split manifold junctions, damage pump seals, and warp internal pipework. Following a methodical winter closing routine safeguards your equipment against sub-zero conditions and ensures everything functions smoothly when warmer weather returns.
Essential Supplies and Equipment for Spa Shutdown
Gathering the proper gear before beginning the winterization process saves substantial time and prevents mid-task delays. You will need a heavy-duty wet and dry shop vacuum with both blowing and suction ports, along with narrow hose adapters to fit small jet orifices. A submersible utility sump pump dramatically accelerates the water evacuation process compared to a standard gravity drain fitting. Clean microfiber towels, non-abrasive acrylic surface cleaners, and a set of basic hand tools like screwdrivers and channel-lock pliers are also necessary.
In regions that experience sustained freezing weather, non-toxic propylene glycol RV antifreeze provides essential protection for residual moisture. Never use automotive ethylene glycol antifreeze in any hot tub because it is highly toxic to humans and damages acrylic finishes. You may also want foam pipe insulation or expandable winterizing plugs to seal open lines once they are blown dry. Having dedicated storage bins for small fittings, filter elements, and removable JetPaks keeps your equipment organized through the winter.
Electrical Safety and Power Disconnection
Safety must always come first whenever performing maintenance on large electrical outdoor appliances. Before touching any water fittings or removing cabinet panels, turn off the dedicated GFCI breaker inside the main electrical panel. Next, switch off the external maintenance disconnect switch located near the spa, which complies with National Electrical Code Article 680 regulations requiring a visible shutoff at least five feet from the water. Disconnecting all power sources eliminates the risk of accidental electrical shock while handling water lines.
Cutting electrical power also protects your spa heater and circulation pumps from catastrophic dry-fire damage. Hot tub control boards often run automated freeze-protection cycles that trigger pumps and heating elements when ambient air temperatures drop. If the system activates without water circulating through the heater barrel, the titanium heating element can burn out in seconds. Verifying complete power termination with a non-contact voltage tester ensures the tub stays entirely de-energized throughout the winter.
Purging Biofilm and Draining the Vessel
Plumbing lines accumulate body oils, mineral deposits, and organic biofilm over months of hydrotherapy sessions. Adding an enzymatic plumbing line purge treatment to the existing water before shutting down helps dissolve this hidden buildup. Run the therapy jets on high speed for twenty to thirty minutes with the air controls closed to circulate the cleaner through every internal line. This preventative flush ensures that stagnant water and trapped debris do not dry out and harden inside the internal plumbing during the long winter hiatus.
Once the flush cycle finishes, cut the power supply and connect a submersible sump pump placed in the lowest footwell area. A sump pump discharges several hundred gallons within thirty to forty-five minutes, whereas a standard garden hose gravity drain can take hours in cold weather. As the water level recedes below the therapy seats, use the pump discharge hose to channel the wastewater toward an approved municipal drain or safe yard area away from home foundations. Keep an eye on the pump intake to prevent it from running dry as the tub empties.
Removing and Winterizing Bullfrog JetPak Modules
The patented JetPak system distinguishes Bullfrog Spas from traditional hot tubs and requires specialized winterization attention. Each modular JetPak snaps into the spa shell backrest and connects directly to the underlying water and air supply manifolds. Begin by lifting the locking snap mechanisms at the top of each JetPak and tilting the pack forward out of its seat. Carefully detach the flexible supply lines or snap unions, keeping track of any silicone O-rings that cushion the connections.
Once removed from the shell, stand each JetPak upright on a towel or flat surface to allow trapped water to drain out of its manifold tubes. Use your wet and dry vacuum to blow air through every individual jet orifice on the face of the pack, forcing residual moisture out through the back ports. Repeat the process in reverse by applying suction to the back manifold ports until no water droplets exit. Store the dry JetPaks indoors in a basement, heated garage, or climate-controlled shed to shield the plastic clips and delicate internal jets from freeze-thaw cycles.
Clearing Water from Jet Lines and Air Channels
With the JetPaks removed, the recessed JetPak manifold wells inside the spa shell remain exposed and hold significant amounts of water. Insert the nozzle of your wet and dry shop vac directly into the lower water supply ports and upper air manifold ports located within each well. Set the vacuum to blow mode and push pressurized air through each port, which will force trapped water into the footwell of the tub. Work your way methodically around the entire perimeter of the spa so no manifold well is overlooked.
Standard fixed jets located in the footwell, neck rests, or step areas also require thorough air purging. Switch the vacuum hose between blowing and suction to dislodge water trapped behind check valves and directional jet nozzles. Bullfrog spas feature air control dials on the top acrylic lip that introduce air into the water streams. Rotate these air dials back and forth between open and closed positions while blowing air through the lines to clear moisture from the auxiliary air distribution tubing.
Evacuating Equipment Compartment Pumps and Heaters
Accessing the mechanical equipment compartment is critical for safeguarding the primary mechanical components. Remove the exterior cabinet access panel using a screwdriver to expose the circulation pump, secondary jet pumps, and heater tube. Locate the threaded plumbing union collars on the intake and discharge sides of each pump wet end. Loosen these unions by hand or with strap wrenches to allow trapped water to spill out into the cabinet floor pan.
Each pump volute features small threaded drain plugs at the bottom of the housing. Unscrew these drain plugs completely, capture the small O-rings attached to them, and store them in a labeled zip-top bag inside the cabinet so they do not get lost. Next, loosen the split-nut unions on both ends of the stainless steel or titanium heater barrel to allow moisture to drain away from the heating element. Direct your wet and dry vacuum into the disconnected union openings to pull out any residual water settling at the bottom of the heater tube.
Removing Filters and Sanitizer Cartridges
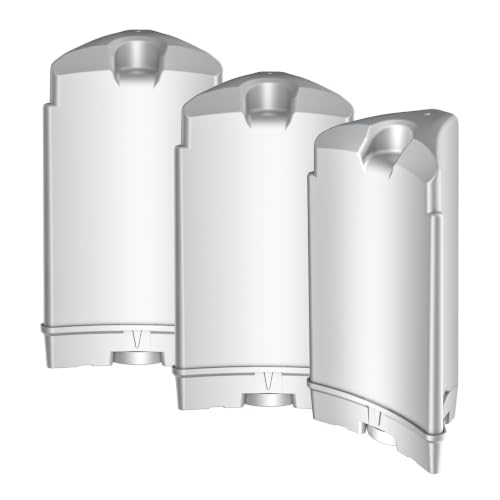
Leaving wet filter cartridges or chemical dispensers inside the spa filter well during freezing weather causes preventable equipment damage. Open the filter weir door, pull out the pleated cartridge filters, and rinse them thoroughly to eliminate trapped organics. Allow the filter cartridges to dry completely in a warm room before storing them indoors for the winter season. If the filter media shows heavy wear, discoloration, or frayed pleats, plan to replace it before refilling the tub in the spring.
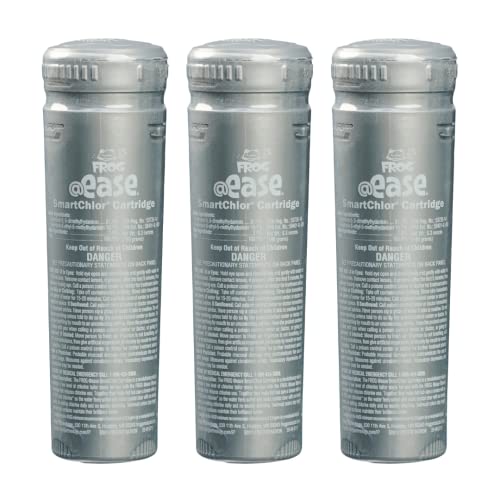
Bullfrog hot tubs frequently utilize integrated FROG @ease in-line mineral and SmartChlor cartridges nestled inside the filtration housing. These chemical cartridges must be discarded or removed, as frozen chemicals can burst their plastic shells or degrade prematurely. Empty any floating chemical dispensers, floating scum sponges, or surface collectors as well. Inspect the empty filter canister with a flashlight and use your shop vac to pull out every drop of standing water sitting at the bottom of the filter standpipe.
Safe Use of Non-Toxic RV Antifreeze
Spa owners living in northern climates with prolonged sub-zero stretches often add an extra layer of freeze protection using propylene glycol antifreeze. This specialized pink liquid remains fluid in deep sub-zero temperatures and does not cause pipe expansion. Pour approximately one to two gallons of non-toxic RV antifreeze into the empty filter standpipe, the bottom footwell drain line, and the lower ports of the JetPak manifold wells. The liquid will flow into the low spots of the underground plumbing where shop vacuums might miss lingering droplets.
Avoid overfilling the plumbing lines with antifreeze, as you will need to flush this chemical out before using the hot tub again. Never pour antifreeze onto bare acrylic seats or headrests, as prolonged contact can leave residue or cause surface staining. Once the fluid is placed into the low ports, insert expandable rubber freeze plugs into the open openings to create an airtight seal against winter drafts. Keep the original antifreeze container nearby so you have a quick reference for disposal guidelines when spring commissioning begins.
Cleaning, Drying, and Surface Preparation
A completely dry shell is the best defense against mold, mildew, and freeze blisters during long winter months. Take clean towels or shammy cloths and wipe down the entire acrylic surface, paying close attention to seat curves, headrest mounts, and footwell crevices. Use a mild, pH-balanced spa shell cleaner to lift any stubborn waterline scum rings left behind after draining. Avoid household bleach, abrasive sponges, or ammonia-based cleaners that can dull or scratch the glossy acrylic finish.
Do not forget to vacuum or sop up water that spilled inside the equipment cabinet when loosening pump unions. Moisture left inside the cabinet creates high humidity that can corrode circuit board solder joints, rust pump motor casings, and encourage rodent nesting. Place non-toxic rodent deterrent pouches or peppermint oil blocks inside the cabinet before closing the access panel. Reattach the exterior cabinet panel securely with its original screws to prevent winter drafts and curious critters from entering the warm mechanical bay.
Selecting and Securing Winter Covers and Accessories
A quality thermal cover serves as your spa’s final shield against snow accumulation, heavy ice, and freezing gales. Make sure your hard cover features dense, tapered expanded polystyrene foam with an intact vapor barrier that prevents moisture absorption. Pairing your primary lid with a durable weatherproof patio hot tub cover or protective canvas winter cap adds an extra barrier against ultraviolet degradation and drifting snow. Tighten all tie-down safety straps and latch them securely into their base clips on the spa cabinet.
High winter winds can lift unsecured cover corners, allowing sub-zero air to chill the bare shell and blowing debris into the empty vessel. If your region experiences intense snowstorms, install support straps or a center ridge brace under the cover to help distribute heavy snow loads. Regularly sweep fluffy snow off the top of the cover using a soft-bristled broom rather than a sharp shovel that could puncture the marine-grade vinyl skin. Maintaining a clean cover prevents sagging and preserves the insulating core for seasons to come.
Deciding Between Full Winterization and Standby Heating
Some spa owners debate whether full winterization or low-temperature standby mode makes more sense for their specific situation. Full winterization is ideal if you plan to travel for extended periods, close a seasonal vacation home, or want zero electrical power consumption during peak winter utility months. De-energizing the spa completely eliminates the risk of freeze damage caused by sudden power outages during blizzard conditions, which can freeze filled spas within twenty-four to forty-eight hours.
Conversely, keeping the tub filled and maintaining a lower water temperature around sixty to eighty degrees Fahrenheit keeps the equipment operational for occasional soaking. Modern full-foam insulation holds heat effectively and automated freeze-protection sensors will run the pumps if water temperatures dip near freezing. However, this approach requires ongoing chemical monitoring, filter rinsing, and dependable electrical service throughout the coldest months. If your area experiences frequent winter blackouts, full winterization remains the safest route for long-term equipment preservation.
Recommissioning the Tub in the Spring
Understanding how the spa will reopen in the spring underscores the importance of thorough winterization notes and organized parts storage. When spring arrives, begin by removing winterizing plugs and flushing out any residual non-toxic RV antifreeze with a garden hose before filling the tub. Reinstall the pump drain plugs, hand-tighten the split-nut heater unions and pump union collars, and inspect all rubber O-rings for cracking or dry rot. Reconnect each JetPak module securely into its respective wall slot before adding fresh water.
Always fill the hot tub by placing the garden hose directly down into the filter standpipe rather than into the main footwell. Filling through the filter housing pushes trapped air out through the pump wet ends, preventing frustrating pump air locks when the electrical power is restored. Once the tub is filled past the highest jet level, turn on the GFCI breaker and test all jet speeds on the topside control panel. Following these thorough closing and opening protocols ensures your Bullfrog hot tub delivers reliable hydrotherapy relaxation year after year.
Taking a patient, systematic approach to winterizing your spa protects its intricate JetPak manifolds and internal components against costly freeze damage. Ensuring every water channel is purged, every union is drained, and the shell is sealed under a tight thermal lid guarantees peace of mind all winter long. Once the cold months pass, your spa will be completely primed for a smooth, hassle-free restart.





Write Your Review
No reviews yet. Be the first to share your experience!